Setting up Vorta for Local Backups
Step 1 – Download Vorta
Visit the Download page for different install options.
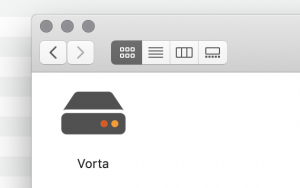
If you chose the binary image for macOS, you will see the following installer image after downloading:
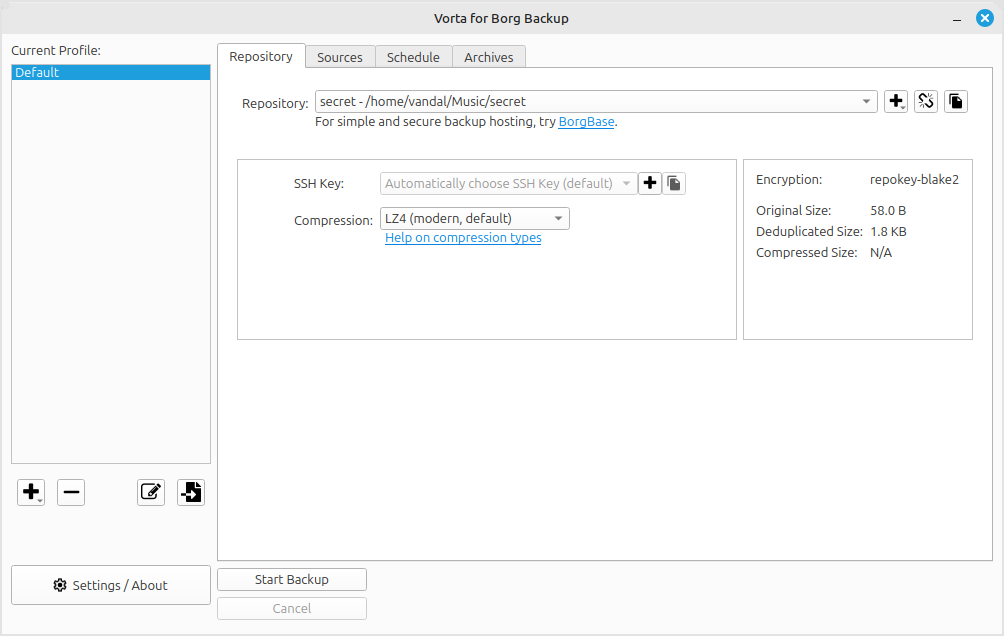
After starting Vorta, you should see a new settings window.
Step 2 - Setting up Local Repository
Click on the Add Repository drop-down menu, and select “New Repository…”. After clicking, a new window should pop up.
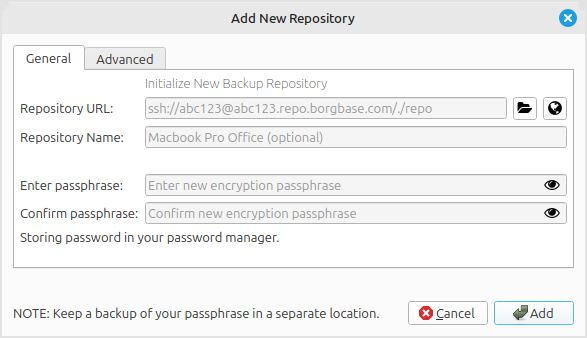
Click on the ![]() icon to select the directory where you would like your new Borg repository to be initialized. Enter in your chosen passphrase for the repository. Make sure and store your passphrase somewhere safe! When you are sure all of the information you have entered in is correct, hit Add.
icon to select the directory where you would like your new Borg repository to be initialized. Enter in your chosen passphrase for the repository. Make sure and store your passphrase somewhere safe! When you are sure all of the information you have entered in is correct, hit Add.
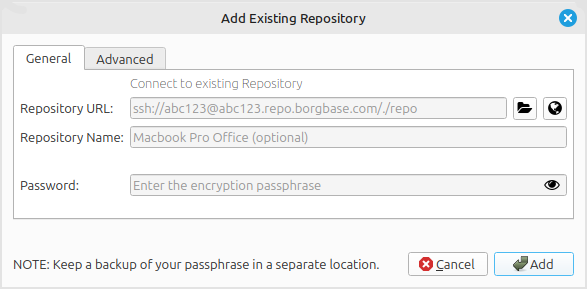
You can also add an existing repository by clicking on the Add Repository drop-down menu, and selecting “Existing Repository…”. After clicking, a new window should pop up.
Step 3 – Add folders to back up
With your repo settings in place, you can now add some backup folders and make your first backup. Navigate to the Sources tab to add some folders or exclusions.
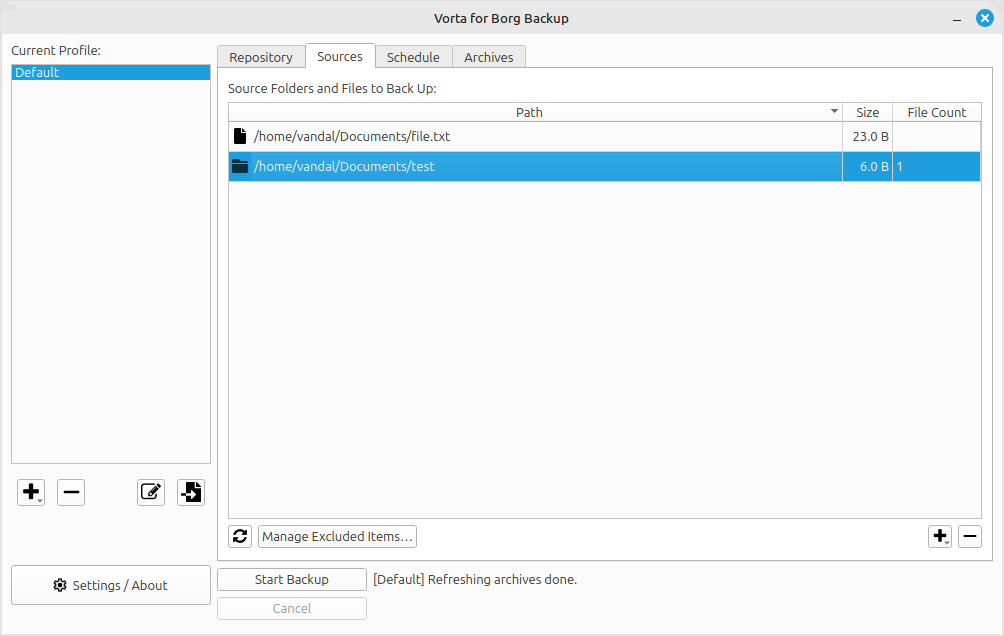
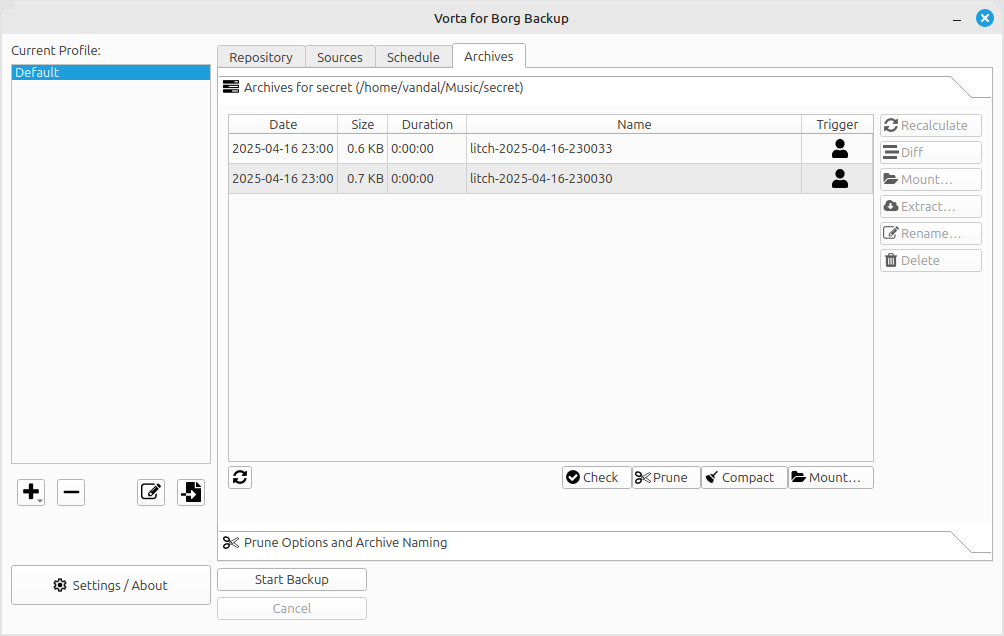
Next press Start Backup to do your first backup. After every successful backup (or snapshot), a new line will be added to the Archives tab. There you can also mount a snapshot and restore files.
Conclusion
After you have validated that everything works as expected, you can put your backups on auto-pilot. If you chose BorgBase.com as repo provider, you can set alerts to be notified if your backups stop working for longer than X days.